So I've been meaning to post this for a few days, but one thing or another has got in the way. Anyway, was asked if I could post a write-up of how I did the Heavy Cruiser aquan wreck I poste on the Spartan Games Community, so here it is.
First of all, the materials. I used the partial Aquan Cruiser, some 10 thou plasticard, some plstic strip, superglue (crazyglue in the US), plastic glue, scalpel - all pretty basic things from your workbench.
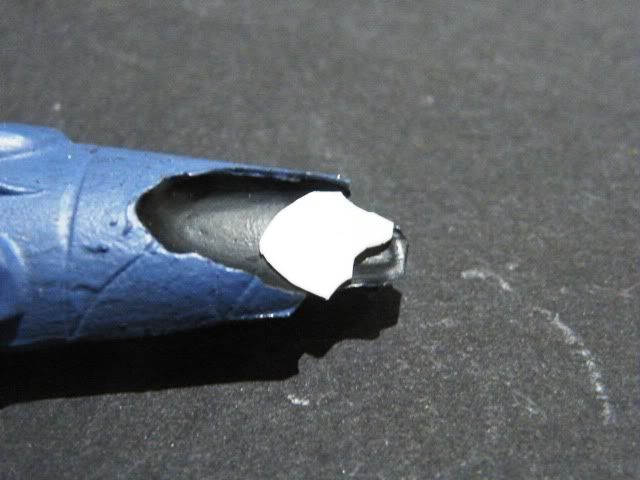
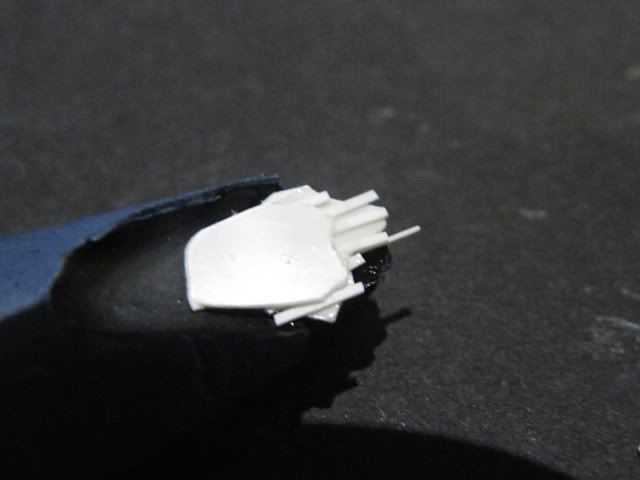
So, having assembled everything needed, first step is to cut a piece of plasticard to fit the bottom of the void in your resin. This is superglued in place, ensuring you get it nice and level. I used superglue gel as it has a slihtly longer cure time and doesn't run all over the place, which means you can tweak its position (I used a small strip of plastic strip for this)
The reason you glue this in place is to give a nice stable plastic platform to work on, meaning you can use plastic glue rather than superglue, making the whole process much simpler. You can use other materials and superglue, but it just takes longer and is more fiddly - if I'm going to go this I'd wait until all plastic work was complete then add wire, tubing etc at that stage.
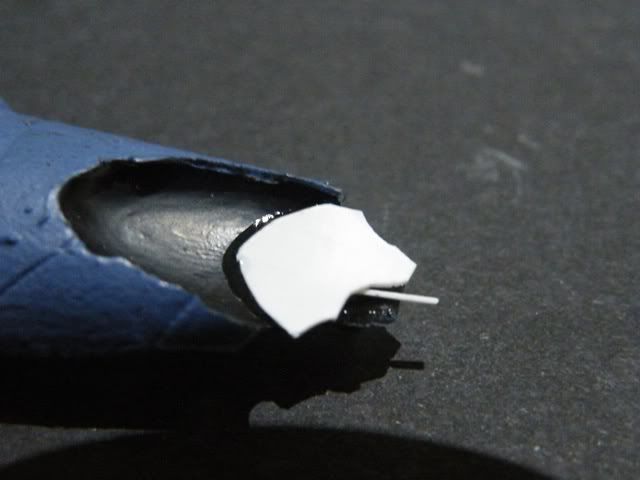
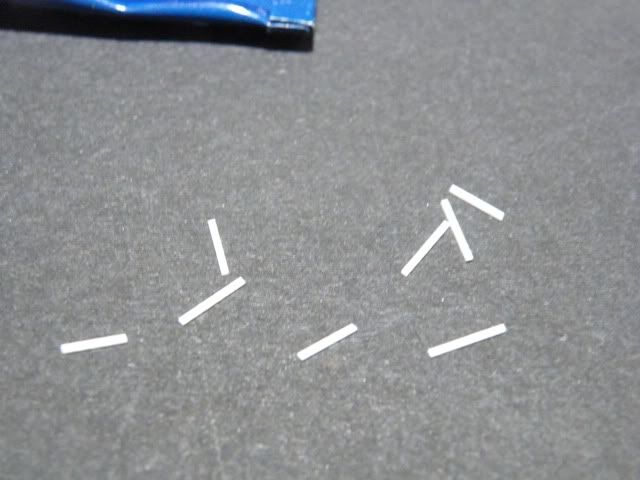
Ok, so when the glue has set, next stage is to add detail to it. Cut a whole bunch of plasticard strip lengths of 5-10mm.
Now cement these onto your deck with plastic glue, varying lengths protruding etc
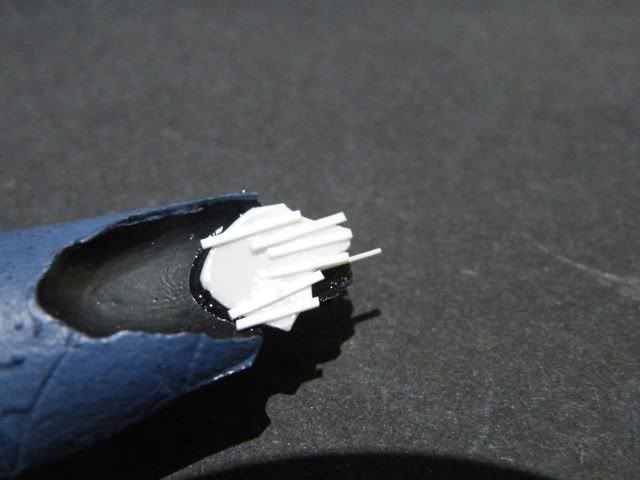
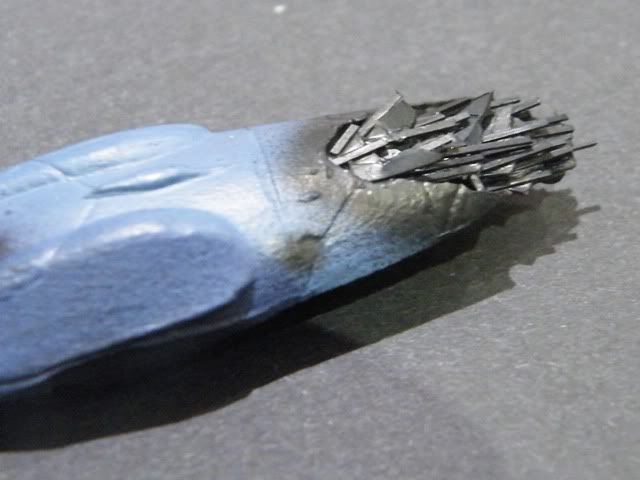
Now cut out and add a second deck level
See a pattern here? Now repeat these processes until you've filled the void. Keep in mind the original shape of the ship - you don't want to go outside this imaginary 3D boundary much (you can a little, to represent spars etc exploding outwards).
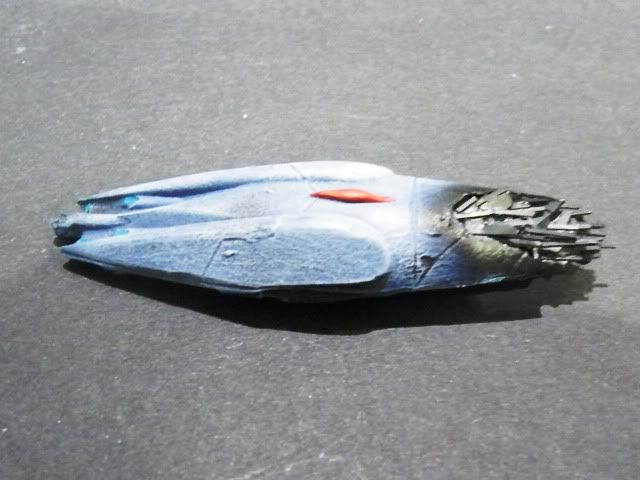
You can bend the plastic strip a bit if you want to represent exploding/imploding forces, vary cross-sectional spars or whatever you like to create the effect you want. Another step you can add is to superglue some foil fragments around the edge of the damaged area, which can then be bent outwards to represent the external hull rupturing out. I didn't do that in this case, wanting to keep it fairly simple. Next stage is painting, and with all the layers it's far easier to spray than hand-paint. Make sure the assembly is fully dried, then mask off and spray.
I typically do detail painting etc first, but in this case didn't, so that was all doen and voila! One wrecked Storm class cruiser.


No comments:
Post a Comment